For years before I got the Corvette, I always heard about my aunt having to take the car to get the brakes bled before she could drive it. I never really knew what that meant and thought that there must be something wrong with the brakes if they have to be bled that often. Well, I was kind of right... Brakes do need to be bled regularly, but the amount these were being bled was more than it should have been.
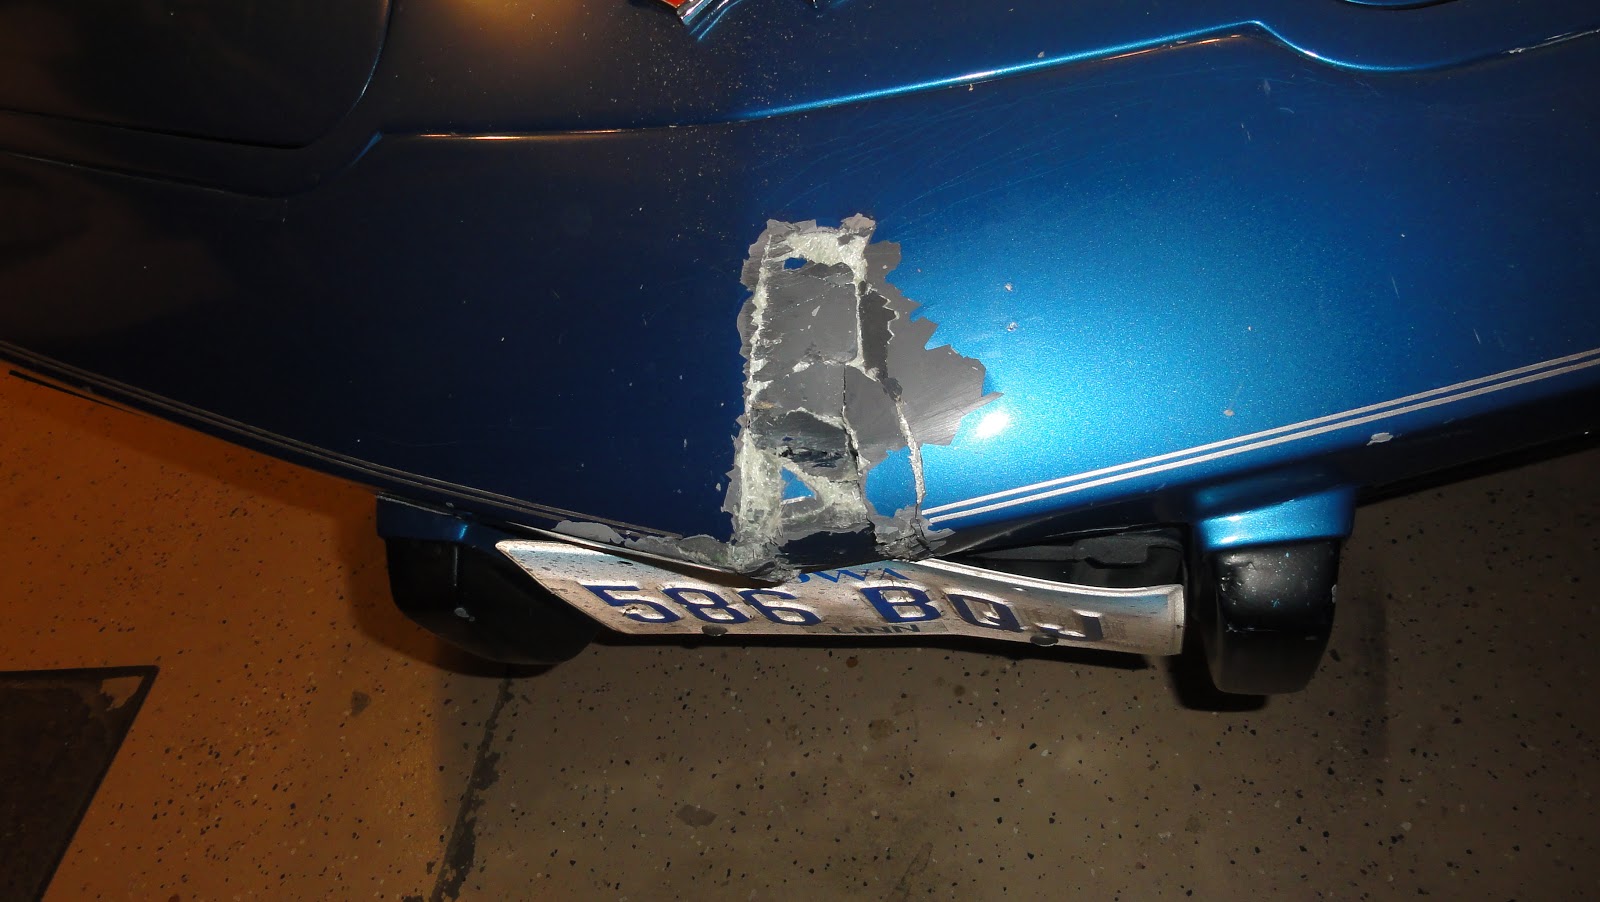
After doing extensive reading on brakes and the C3 Corvette brake system, it sounded to me like there was just a bad seal in one of the calipers or at the master cylinder. Unfortunately for me, this problem resulted in an air bubble in the brake system when I was pulling into the garage. I ended up putting the front of the car into the cabinets in back of the garage. After that, I only drove the car a couple times because I was afraid of hitting something else.
I decided to put an end to the brake system problems completely. Replace the entire system except the rotors and the brake booster. Basically everything in the brake system that has brake fluid. It would be the only way to guarantee that there wouldn't be any more problems and the best way to remove frequent maintenance.
In order to reduce the maintenance required for the system, I decided to use stainless steel brake lines, braided stainless steel brake hoses, powder coated stainless steel calipers with O-ring seals, and DOT-5 brake fluid. Before choosing where to get my parts and what to use I read many forum discussions and even held some of my own.
The brake kit I got from Vette Brakes & Products was recommended by many Corvette owners. It came with brake hoses, lines, and fluid that I didn't use, but it was still cheaper then to get the parts I needed from a Corvette catalog or anywhere else for that matter. I would have liked to have done the C5 brake upgrade, but they require at least 17" rims and I like my 15" rims because it gives the car a more race car look and feel.
Post Upgrade
These brakes are awesome! The pedal is nice and stiff, and the car stops on a dime. They just squeaked a bit until I learned that I was supposed to put anti-squeak stuff on the back and sides of the pads (fixed that in my procedure). In the future I may invest in some sport rotors to enhance the cooling of the brakes, but standard rotors are more than adequate. There's also a chance I'll change to aluminum calipers to lighten things up and enhance heat dissipation. I saw a Wilwood aluminum upgrade kits at Vansteel for a decent price. If you want to go crazy you can always do the Z06 brake upgrade kit from SpeedDirect, but that also requires 17" rims and is very expensive.
One thing I would highly recommend is to replace your body mounts while replacing the brake lines. Doing so will make the line replacement MUCH easier. Without raising the body installing the lines is very difficult and at times painful.
Note About DOT-5 Brake Fluid
Anyone considering using DOT-5 brake fluid should be aware that in cannot be mixed with DOT-3 (standard brake fluid). If you're reusing old parts that had DOT-3 fluid, they must be thoroughly cleaned (use soap and water, flush thoroughly with water, and then it should be completely dry before using). A few reasons to choose silicon based DOT-5 fluid:
- doesn't degrade like DOT-3 or DOT-4 that absorb water
- higher boiling point
- non-corrosive so it won't eat away at paint if spilled/sprayed
- seals last longer because its non-corrosive
Parts
- VB&P 1965-76 Complete SS Sleeved O-Ring Seals w/ Power Master Cylinder (black powder coated)
- Stainless Steel Calipers with O-Ring seals (supposedly better than original lip seal)
- Power Master Cylinder
- Premium Brake Pads
- Brake Pad Installation Piston Clips
- Rear Brake Lines (not used)
- Rubber Brake Hoses (not used)
- DOT-3 Brake Fluid (not used)
- Brake Line Kit, With Power Brakes, Stainless Steel,1975-1982 (honestly you could easily make your own, but these are so much easier and have the extra protection sections)
- Braided Stainless Steel Brake Hose Set
- Proportioning Valve (there's adjustable aftermarket valves available, but they didn't seem necessary to me)
- DOT-5 Brake Fluid (4-5 of the small bottles, could probably be done with 3)
- Left & Right Rear Brake Distribution Blocks (these are cheap, but I cleaned and re-used mine)
 | |
| The long brake lines came bent with stickers showing the bends |
Tools
- Car jack (extra low if you have side pipes)
- Jack stands (recommend a total of 4 so the car isn't tilted, helpful if gravity bleeding)
- Brake Bleeder (I don't trust gravity bled, power or manual is fine... I prefer manual)
- Wrenches (stubby are useful, but some bolts will require anything you can find to get at the bolt)
- Socket Wrench (optional, speeds up in places where they'll fit instead of a regular wrench)
- Flat Head Screw Drivers (large and small for prying mostly)
 |
| Car is up on 2 sets of jack stands, and I tend to leave my tools everywhere. |
General Procedure
- Drain fluid.
- Remove brake hoses.
- Remove brake pads.
- Remove calipers.
- Remove brake lines
- Remove proportioning valve.
- Remove brake master cylinder.
- Installation reverse of removal.
Detailed Procedure
- Get the car off the ground and on jack stands. You'll want to have this high enough that you'll be comfortable under the frame below the driver door.
- With the car on jack stands, remove all the wheels.
- Take the cover off the master cylinder
- Disconnect each of the brake hoses from the calipers (short brake line from the hose on the rear calipers) and drain the fluid into a large container (like a 2 liter bottle, milk jug, etc.). This is done by unscrewing each hose connector. Be sure to use two wrenches and hose end wrenches are a good idea. Once the hose and line are disconnected, you can remove the clip holding the hose in place. When draining the fluid, try not to get this fluid on anything as it will eat away at paint.
- Once the fluid has mostly stopped flowing, go ahead and completely disconnect the brake hoses.
- On the rear brakes you'll also be able to remove a small brake hose that ran from the caliper to the brake hose on the front of the trailing arm. These will have brake fluid in them still, so either be ready to catch it in the container or cap the end of the line.
- Now you'll easily be able to remove the brake pads. After removing the pad holding pin/bolt, simply pull/push each pad away from the rotor and you'll be able to just pull it straight up.
- With the pads out, you can now remove the caliper from the rotor. Each rotor is attached using two bolts with lock washers. To get these out I would recommend using a torque wrench because the bolts tend to be in very tightly. Once the bolts are out, the calipers just left right off.
At this point, if you're planning to lift the body, do it now. I did not because I had no idea how to do that when I did this project. It would have been easier, but would have required disconnecting a lot more things (like the steering column). - Next, you need to get the old brake lines out. Since you're replacing the lines, don't be afraid to just cut the lines in places that are hard to get the line around. Behind the driver's side door is difficult and so can the front line running to the front passenger side wheel. As you're going it's good to take pictures of how the hose was actually attached to the frame. Make sure you save every bolt and clip that was holding the lines in place. They are all the same size bolts, but the clips can be different if they hold two lines.
- There are two connecting block in the rear of the vehicle where the brake hoses connected to the lines. These are very simple pieces, so if they're not damaged, just clean them up and set them aside to use later with the new brake lines.
- Removing the brake lines from the master cylinder to the proportioning valve can be annoying depending on the accessories and exhaust that are install on your vehicle. For me, the best way to get at the proportioning valve was from below the car. I replaced my proportioning valve because my brake light was always on and the parking brake wasn't engaged.
- All the brake lines should now be removed. This means the proportioning valve and the master cylinder can be removed. Be careful of the master cylinder when you remove the two bolts so that you don't hit anything else in your engine compartment.
To be continued...
I'm not going to detail the bleeding procedure. That's been done many times, in many forums. Here's an incredibly detailed explanation. [Corvette Forum] bleeding the breaks... info please. I tried gravity, bleeder, and standard pump the brakes methods. The best way I found was just to do the standard pump the brakes method with a partner.
No comments:
Post a Comment