As I mentioned in my previous post, I've had about a week and a half to work on the car without work and school interfering (just had to do family holiday things). And now with a baby on the way, pressure is on to get this project done! (due July 9th)
First thing I did was get the wiring done, and it looks pretty good if I don't say so myself! I replaced a fuse box I had gotten with terminal panel because I needed just terminals to hook up to power on ignition, and the connectors for the box allowed it to touch the insulation which I didn't like. I coated the terminal panel with liquid electrical tape (did that to the stud in the engine compartment next to the upper relay as well) just to make sure a positive terminal wasn't exposed. The breaker on the right in the first picture is for the Vintage Air system, the two larger relays are for the electric fans, the smallest relay and the breaker on the left is for the water pump. The upper relay is for power on ignition. Rather than run directly off the ignition circuit, I put a relay in that's triggered by the ignition circuit.


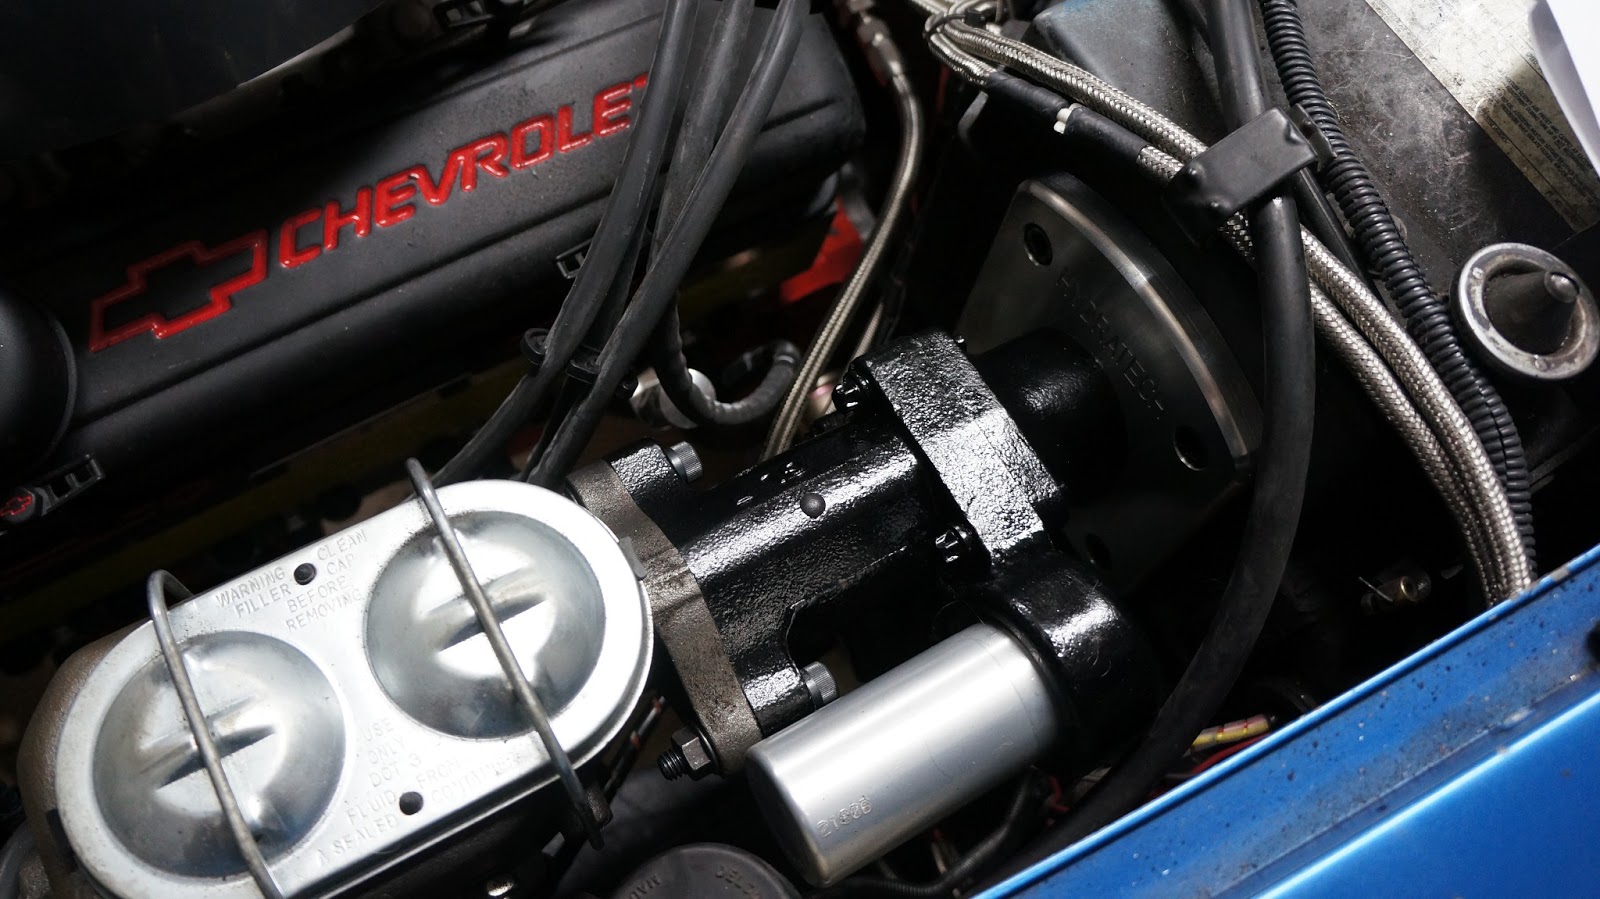
With the wiring complete, I went on to more ambitious tasks... The Steeroids rack-and-pinion and the Hydroboost brake booster. I attempted to get the brake booster a few month ago and install it over a 4 day weekend, but they ended up not being able to ship it out fast enough. For those not familiar with it, the purpose of the hydroboost system is to replace a standard vacuum brake booster with one that runs off the power steering pump. There are several benefits to running such a system, but the main one for me is that I do not have to use the vacuum port on the intake manifold. If you're familiar with some of my previous issues, you know that my new air gap intake, Holley style carb, and stock hood make it impossible for me to use the port without using an absolutely tiny air filter (not what I want to do...).
To be honest the hydroboost went on really smooth. I had a slight issue that I had to drill out two of the mounting holes a little, but other than that, it was pretty easy. The booster has 4 bolts that are horrible to get to with all the wiring in place that I had just done, but with a really long ratchet extension and a swivel I was able to them off and back on with minimal swearing. I haven't hooked up the hoses yet because the Steeroids system will be hooked up as well. Oh, and check it out... I can actually get to the oil dipstick now!!


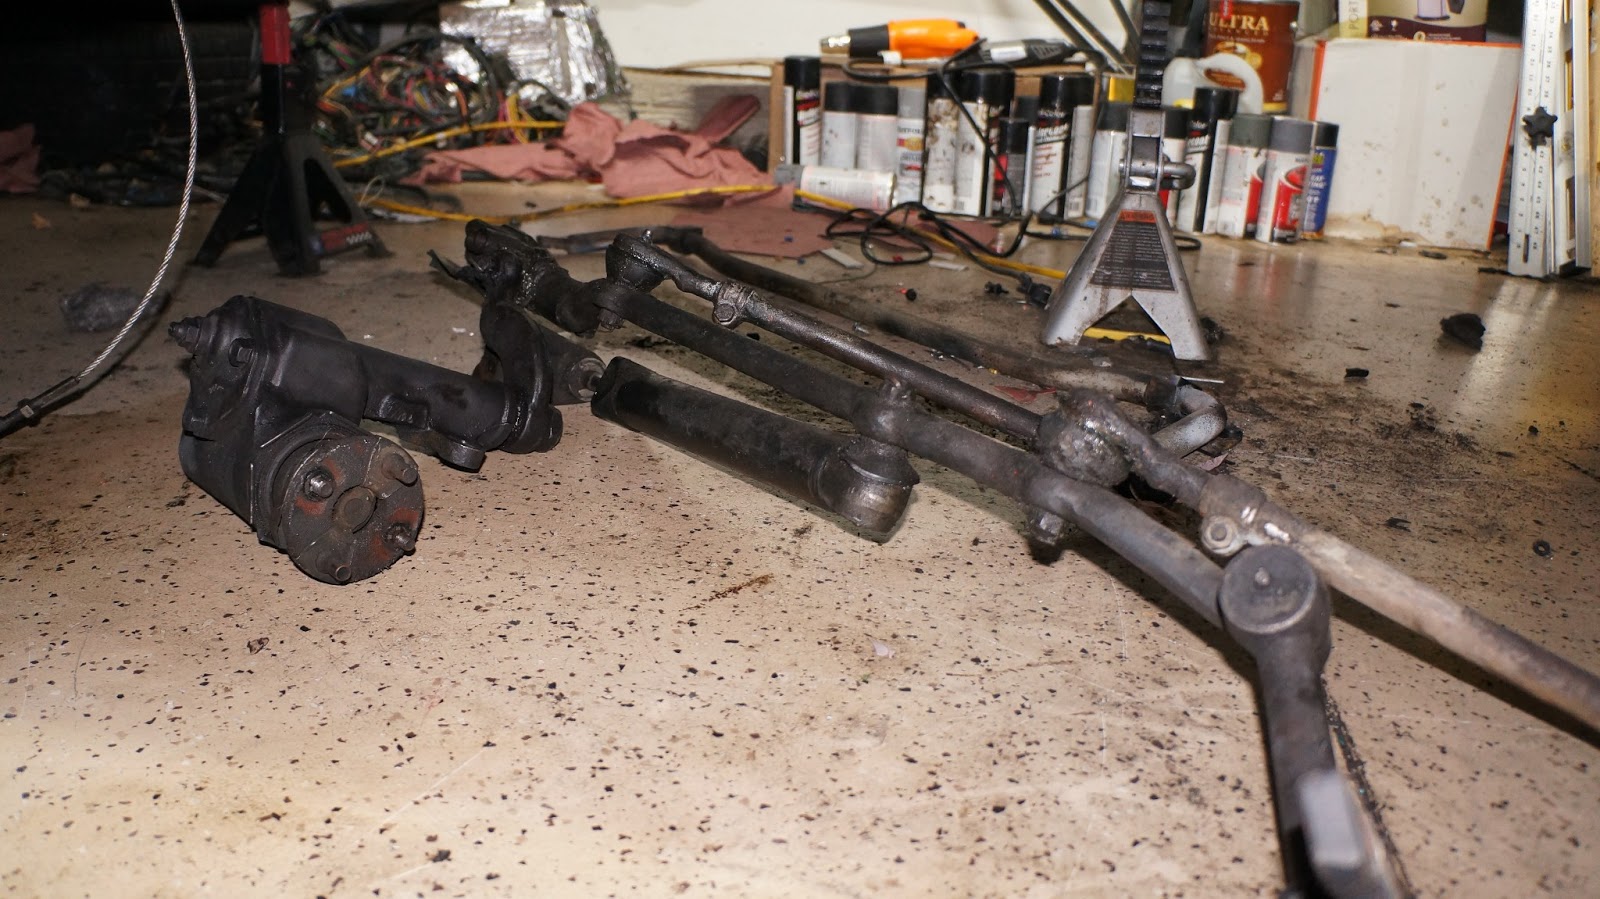
While I was installing the hydroboost, I was installing Steeroids in parallel. A quick overview of what that is... Essentially it's a system that replaces the entering steering system with a power rack-and-pinion system to provide much better handling. If you've ever driven one of these old Corvettes, you know they handle like a freaking pig! Anyway, step one was to remove the entire old system in one shot (had to got buy a pickle fork to release the tie ends). Then you install some custom made brackets into existing holes in the chassis. After those are installed, it's just a matter of bolting the rack-and-pinion system up to the new brackets. All pretty simple and straight forward at this point.
Next, you have to install this custom u-joint system that connects the steering column up to the rack-and-pinion. And now for trouble. I couldn't get the steering column spline into the joint. It was just a hair too large. I contacted the manufacturer (Speed Direct) and they said to take a file to each one of the grooves on the column and the joint until I can get it on. After 3.5 hours of filing and sanding, I was finally able to get the joint onto the steering column far enough. That was a huge pain, but tech department said I needed to get it all the way so the joints wouldn't bind up and length was right. I was so excited when I finally get it on and working that I had to take a video.


With the work that I'm doing on the steering and brake booster, I'm currently not able to put the exhaust manifolds back on yet. If those were in, this would take much longer or even be impossible to do. That hasn't stopped me from getting them ready to be put in. I now have my Thermo-Tec exhaust wrap on the headers and it had been sprayed with their high heat coating for protection and additional insulation. Once I done putting the hoses on these new systems, the exhaust is ready to go.


I have done a few other things... I've sized the Lokar transmission cooler dipstick to the correct length to indicate full and I've also started configuring the shifter (that one's kinda tricky). I also started connecting up the transmission cooler lines to the radiator. Fortunately, the connections were really easy (contrary to what I originally though). Now it's just a matter of connecting up the hard line to the flex lines and filling the transmission with fluid. BTO makes you do some pressure and temperature tests on the transmission once it's installed to ensure it was done correctly. Both the sensors are now installed, but I have no idea how I'm going to get them into the cabin with the side pipes...


Oh and here's a couple pictures from a few weeks ago. This is the fuel line hooked up...

